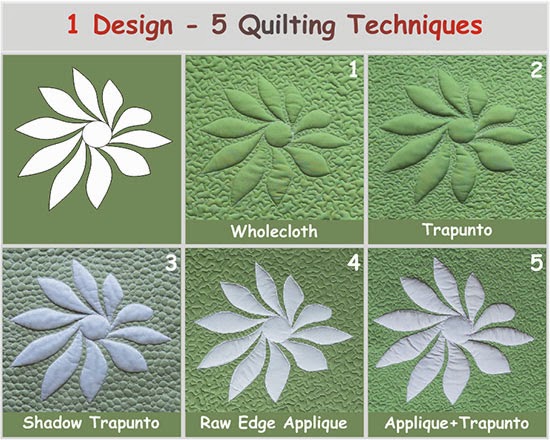
This shadow trapunto quilting tutorial is part of the series
 |
| PIN this for later |
Here is the shadow trapunto sample I stitched for this tutorial.
The shadow trapunto quilt has 5 layers. From top to bottom: organza (a sheer fabric), trapunto design made from batting (the white part), and the 3 layers of the familiar quilt "sandwich".
This kind of shadow trapunto quilt is about contrast and texture - the contrast made by the white of the batting with the fabric underneath and the texture created with batting.
Materials List for this small sample
- organza, top fabric, batting, backing :16''x 16''
- additional layer of batting for trapunto: 14''x14''
To assemble the pattern, cut on the dashed line of the first page and tape it to the second page.
 | |
| Click on the picture to download and print the design You need a thin paper - it is easy to stitch through and tears away easily. |
Place the organza over the batting.
 |
| A fluffy, thick polyester batting works best for this technique. |
Add the paper pattern on top of (organza+batting) and pin through all the layers.
Stitch on the lines through all the layers, using water soluble thread.
Many quilters use water-soluble thread only in the needle (paired in the bobbin with a thread in a color that matches the fabric- in this case- white); but I like to use it in the bobbin too - it means a few more dollars but less headaches with the thread tension, stitching mistakes or the bobbin thread showing on the top after washing the quilt.
If you don't have water-soluble thread at hand, you could try the technique with invisible thread- see how it works for you and decide if you want to invest in water soluble thread.
Remove the paper.
Here is the stitching on the front.
and the stitching on the back.
Cut the batting away around the design. The same tips I wrote about for the Trapunto tutorial apply to this step too- review the trapunto tutorial.
The hard tedious part is done.
 |
| View from the back |
 |
| View from the front |
Now lay under the organza+trapunto design the layers of a regular quilt: top fabric+batting+backing.
The top fabric will give color to the quilt and should contrast with the white of the batting.
Now quilt as desired through all the layers- a dense quilting will make the design stand out even more.
On the trapunto design, stitch on top of the previous stitching done with water-soluble thread or just a little outside the stitching line. Keep the batting enclosed by stitching.
Then wash the quilt.
The design looks great- stitched twice, but outlined with a single stitching line, after washing.
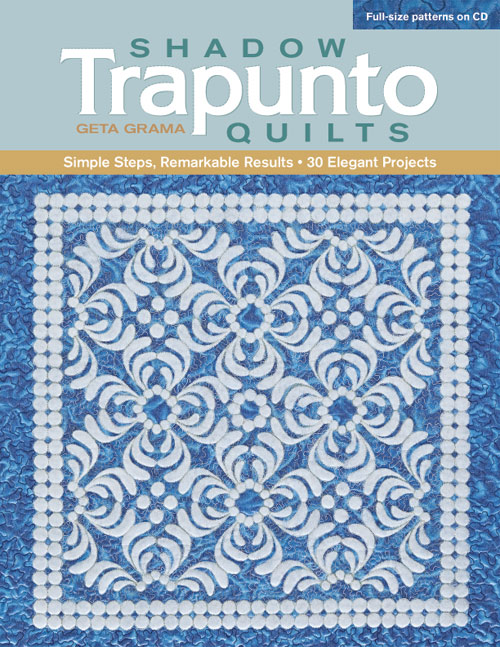
This technique is explained with lots of details in my book.
Cutting the batting away could be intimidating. It requires patience - like any quilt technique; but using a few tips and the right tools, you will enjoy it!
I LOVE IT! It's rewarding!
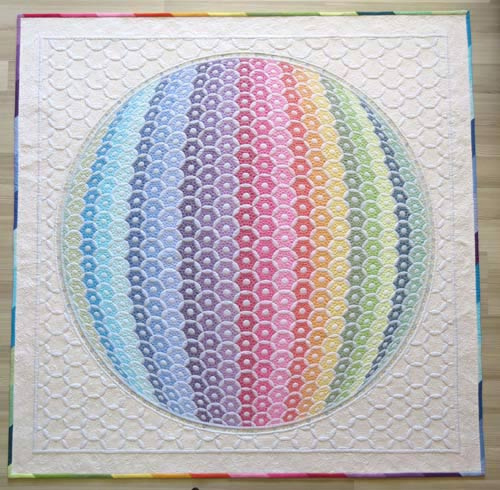
If you are afraid that you could clip the organza while you cut the batting away - yes, it happens; but the hole can be made invisible. This quilt below had a hole in organza, but I can't find it!
 |
| Click to learn more about this quilt |
Two quilts/and patterns from the book.
 |
| One of my all time favorite quilts - a miniature 19.5'' square |
I hope you like this technique and will give it a try!
Geta
See the other tutorials of the series here
How lovely are Greta's Quilts?!


No comments:
Post a Comment